First Dictation
A walkthrough of Tiune's guided setup, from opening the app to your first successful dictation.
The first time you open Tiune, it walks you through a short guided setup before dropping you into the app. It only takes a minute or two, and by the end you'll have actually dictated something for real. Here's what to expect, screen by screen.
Welcome
A short introduction to the idea behind Tiune: you speak faster than you type, and Tiune turns that into the fastest way to write anywhere on your computer. Click Continue.
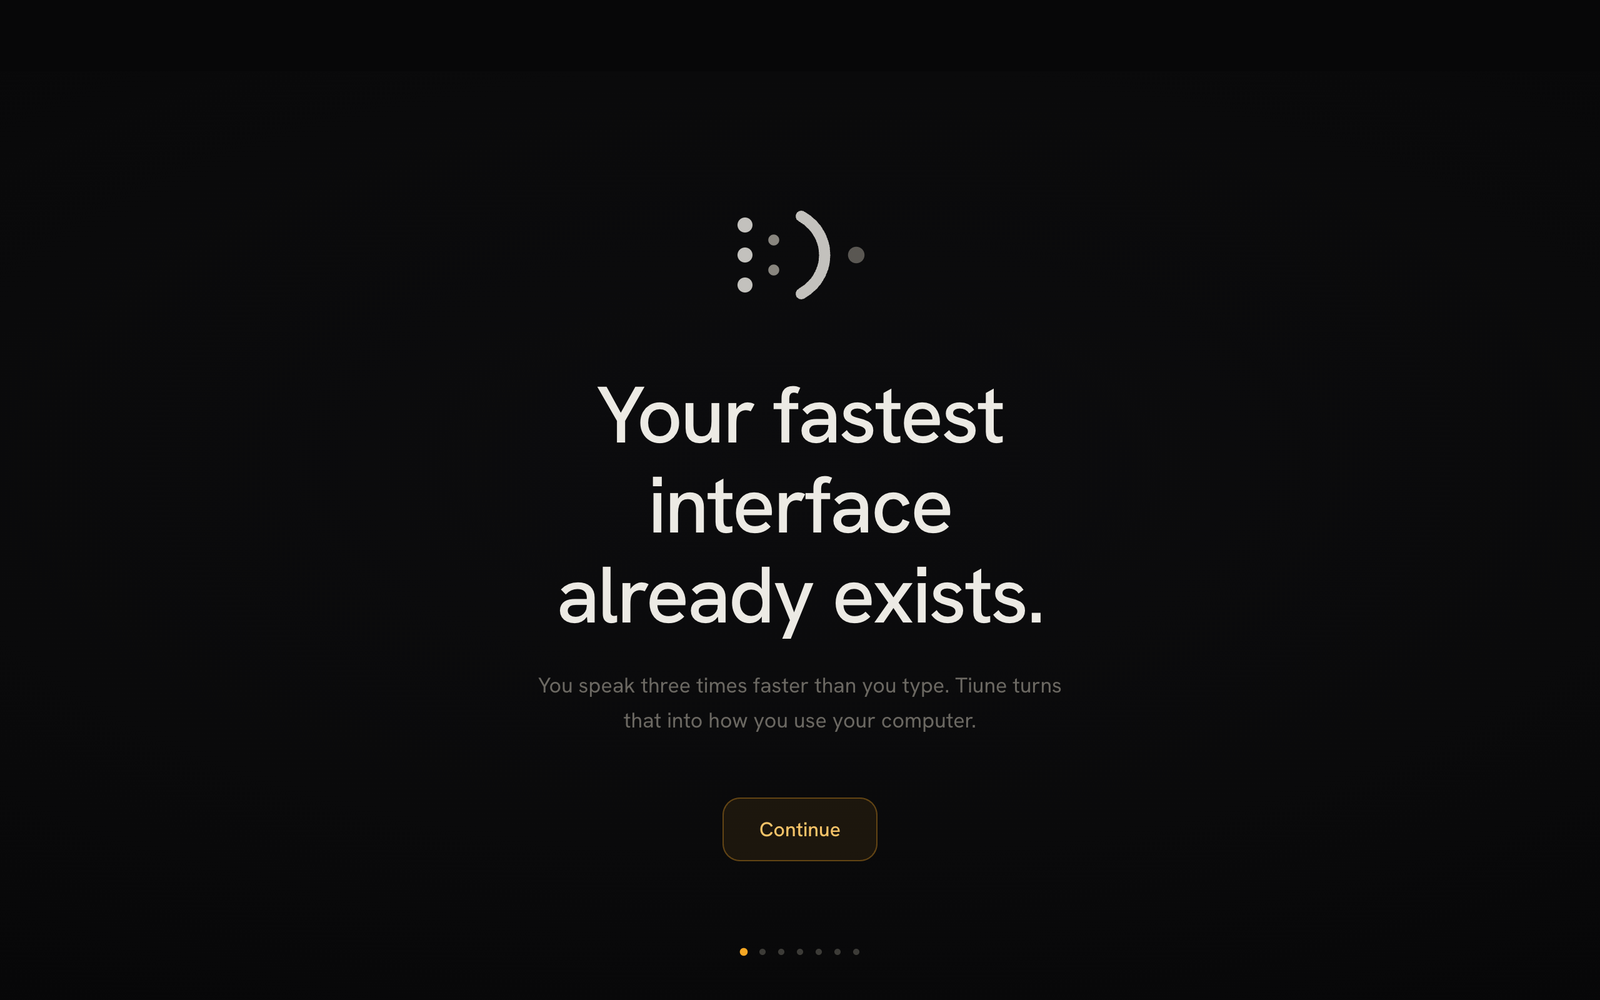 Screen 1 — "Your fastest interface already exists."
Choose your language
Tiune asks what language you'll be speaking. For now, pick English — that's what Tiune is built around at launch. (You'll notice other languages listed here too; support for them is on the way. See Choosing Models for more on what's coming.)
Choose your engine
Next, Tiune asks how it should listen to you. This is just asking which speech-recognition engine to use — think of it as choosing between "ready right away" and "download something a bit sharper." Tiune Instant, the one built in, is recommended and is already installed — there's nothing to wait for. You can always change this later, and downloading a better engine never blocks you from dictating in the meantime. More on this in Choosing Models.
How it works
A quick, visual explanation of the pipeline: you talk, Tiune turns it into properly written language, and it lands wherever your cursor is — no window to open, nothing to manage.
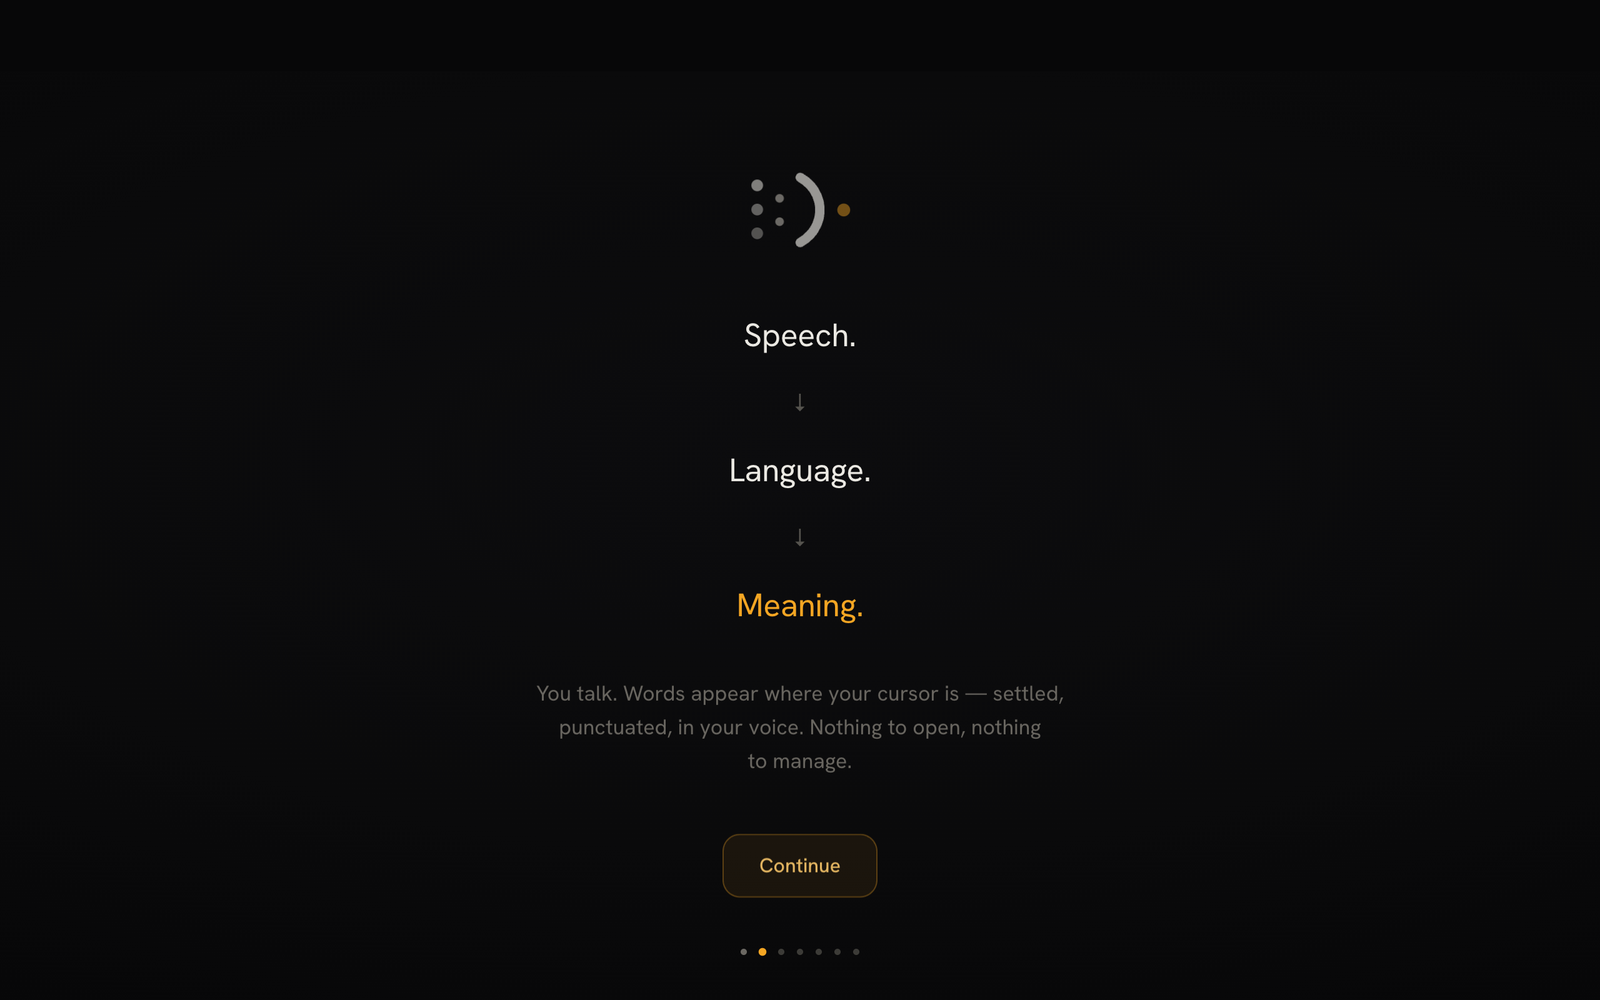 Speech → Language → Meaning, shown as one continuous pipeline.
Granting permissions
Two screens ask for Accessibility and Microphone access. These are the two things Tiune needs to actually work — see Permissions for the full explanation of what each one does and why. You can grant both right here, or skip and grant them later; either way, Tiune will gently prompt you again the next time it actually needs one.
Hold the keys
Now for the fun part. Tiune shows you its default shortcut — hold Option (⌥) and Space — as two big keys on screen. Go ahead and actually hold them down; you'll see the keys light up as you press them, because this screen is watching for the real thing, not just showing you a video.
 The Option and Space key caps light up amber as the chord is held.
Tip
If your keyboard shortcut doesn't seem to respond here for any reason, you can also just click the on-screen Space key to move forward.
Your first capture
Keep holding the keys and say something — anything. You'll see your words appear on screen as you speak. When you let go, Tiune finishes cleaning up the text and settles on a final version.
If nothing was picked up (it happens — maybe you let go too quickly, or started talking before the keys registered), Tiune will simply let you try again. It's not an error, just a "let's try that once more."
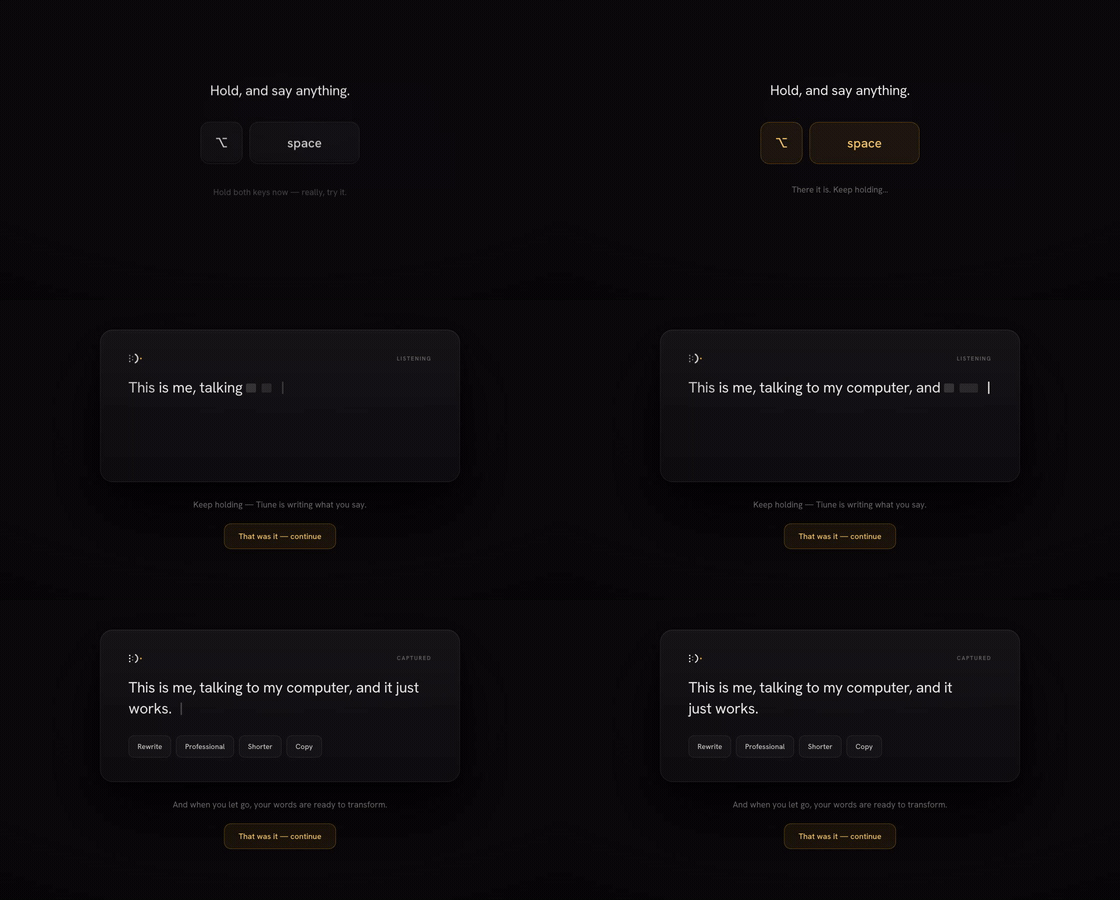 Hold → live words appear as you speak → release → the text settles.
Once your words land, click Continue.
Wrapping up
The last screen is where you sign in, with Google, Apple or Microsoft. This is what lets your vocabulary and corrections follow you to every computer you use Tiune on — dictation is free and unlimited, and there's no trial timer involved. Continue only lights up once you've signed in, so this is the one required step in setup. Signing in only identifies your account; it's separate from dictation itself, and signing in sends none of your voice or words anywhere. Once you're signed in, click Start using Tiune to finish.
Where to try it next
Once you're in the main app, try holding your shortcut in a few different places to get a feel for it:
- A new Note
- An email you're drafting
- A Slack or Messages conversation
- The address bar of your browser
Anywhere you can normally type, you can now dictate.
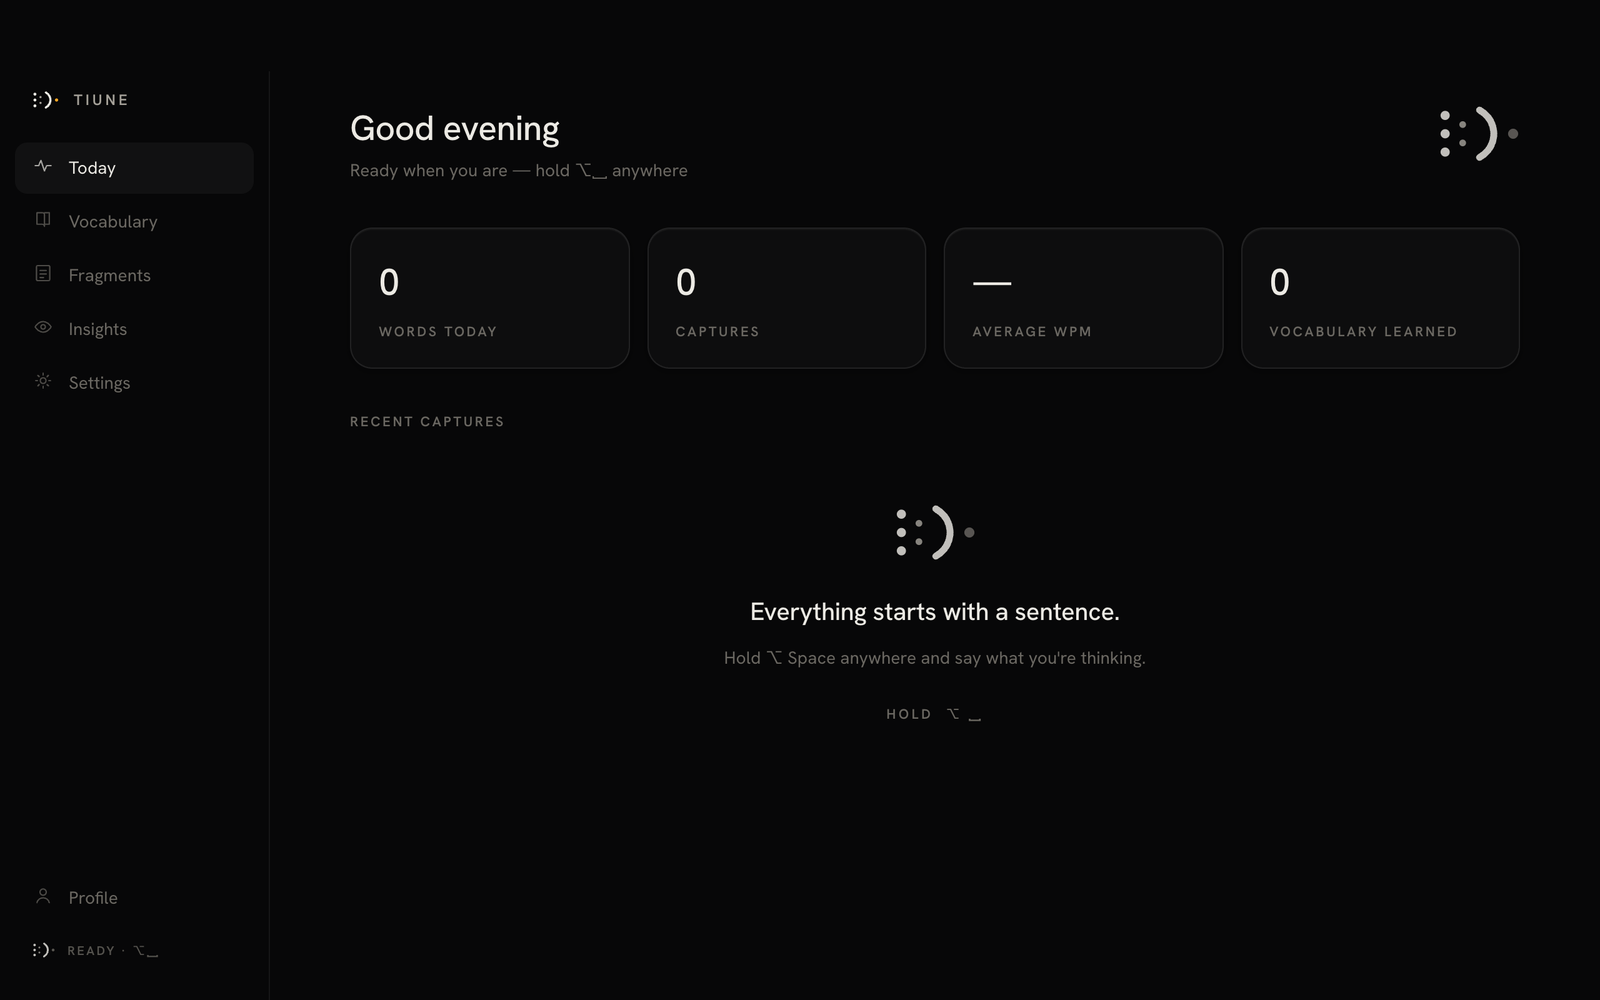 The main window right after onboarding — empty until you start dictating.