Permissions
Why Tiune asks for Accessibility and Microphone access, and what happens if you say no.
Tiune asks for two permissions on your machine. Both exist for a specific, narrow reason — here's exactly what each one does, why Tiune needs it, and what happens if you skip it.
Accessibility — how your words reach other apps
When you finish dictating, Tiune needs a way to actually place the text into whatever app you're using — Mail, Notes, Slack, your browser, anything. On a Mac, that requires Accessibility access, which lets Tiune type on your behalf.
Tiune never reads your screen. This permission is used for one thing only: typing the words you just spoke into the app you're currently in.
To grant it:
- Tiune will show you a button to open the right settings pane.
- macOS opens System Settings → Privacy & Security → Accessibility.
- Find Tiune in the list and switch it on.
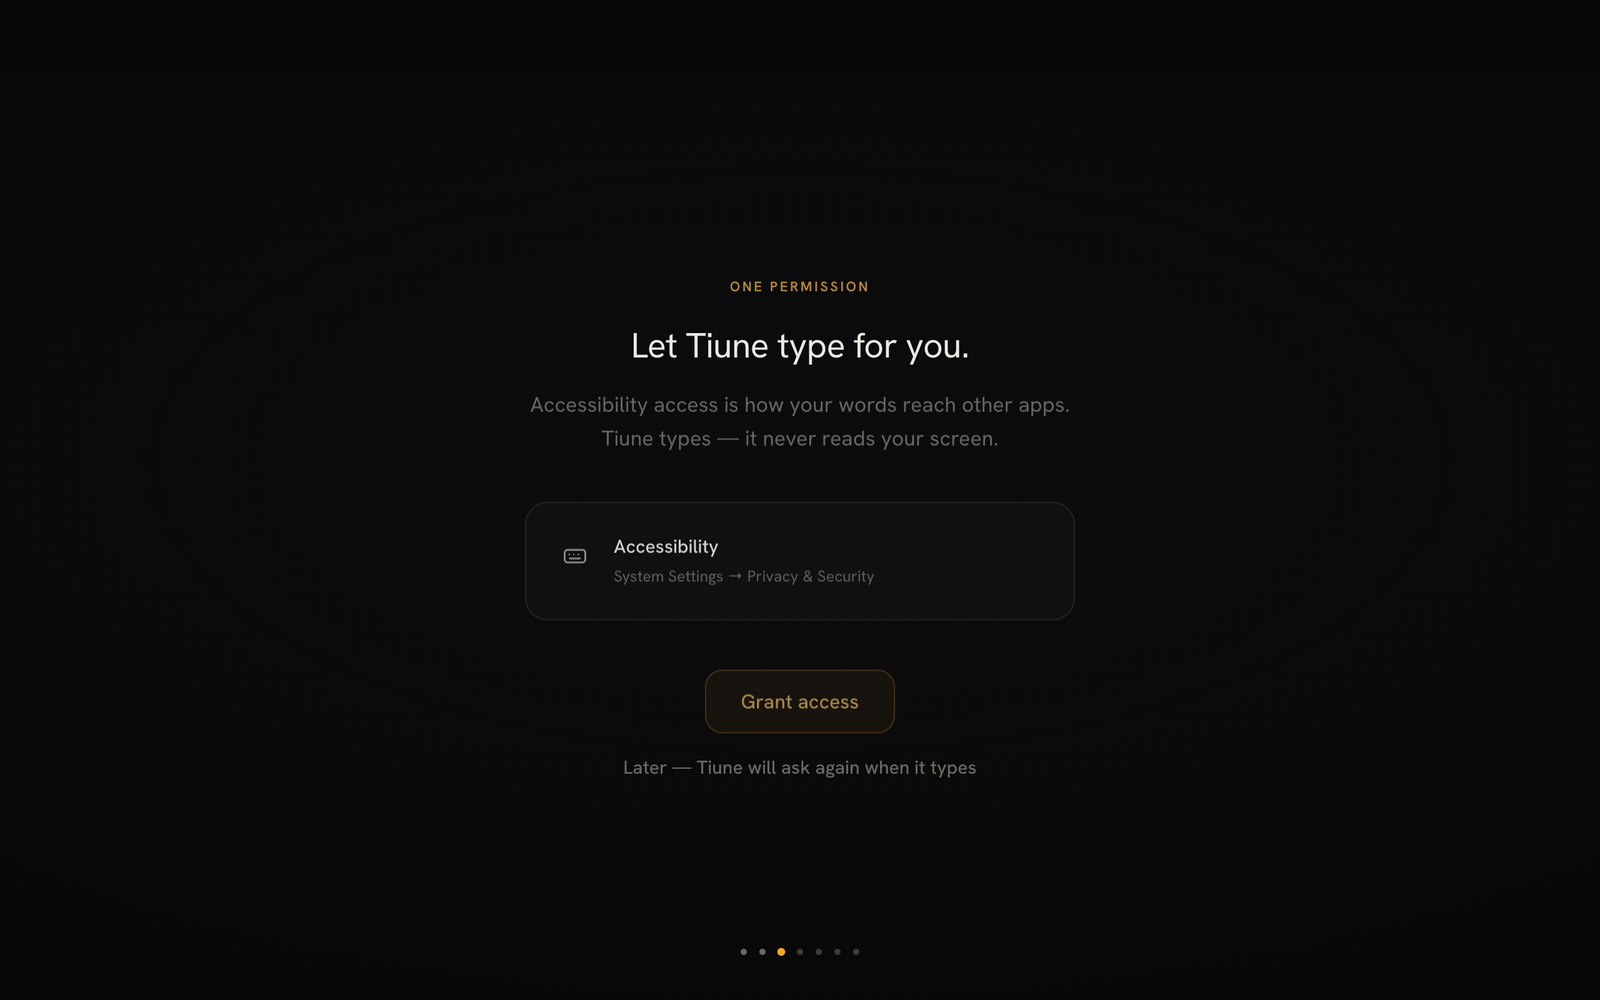 The onboarding Accessibility screen. (The matching macOS system prompt it opens isn't
pictured here yet.)
The onboarding Accessibility screen. (The matching macOS system prompt it opens isn't
pictured here yet.)
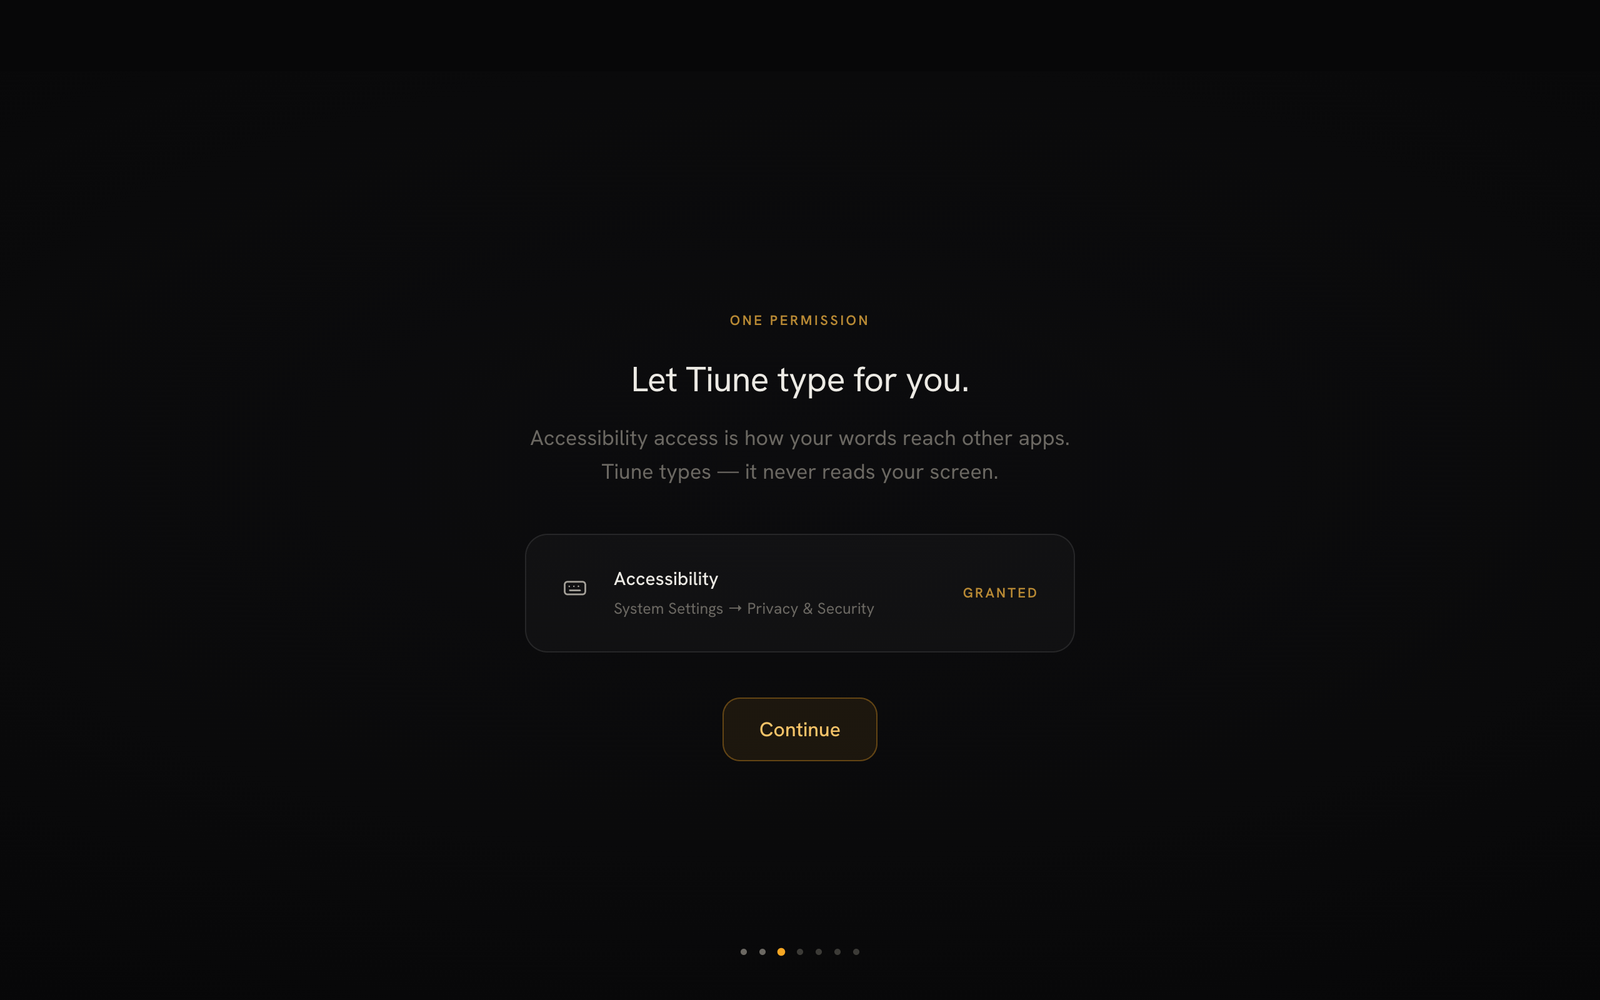 Once granted, the screen updates to show it.
If you skip this, dictation still works completely — Tiune still listens, still turns your speech into text. It just can't type it into the app for you automatically. Instead, it copies the finished text to your clipboard and lets you know, so you can paste it yourself with ⌘V. Nothing is ever lost — you're just doing one extra step. You can grant Accessibility at any time later from Settings.
 Without Accessibility granted, the floating bar rests in this disabled-looking state —
dictation still works underneath it.
Without Accessibility granted, the floating bar rests in this disabled-looking state —
dictation still works underneath it.
Already granted, but Tiune still can't type?
This is a known macOS quirk, not a Tiune bug. macOS sometimes "forgets" that it trusts an app after an update. If Accessibility already shows as on but typing still isn't working, open System Settings, switch Tiune's Accessibility toggle off, then back on again. That usually fixes it right away.
Microphone — so Tiune can hear you
This one's straightforward: Tiune needs microphone access to hear what you say. Your audio is only used to turn your speech into text — it's processed in the moment and never saved anywhere, and the little floating bar always shows you clearly when Tiune is listening.
To grant it:
- Tiune shows you a button to grant access.
- macOS shows its normal "Tiune would like to access the microphone" prompt.
- Click OK.
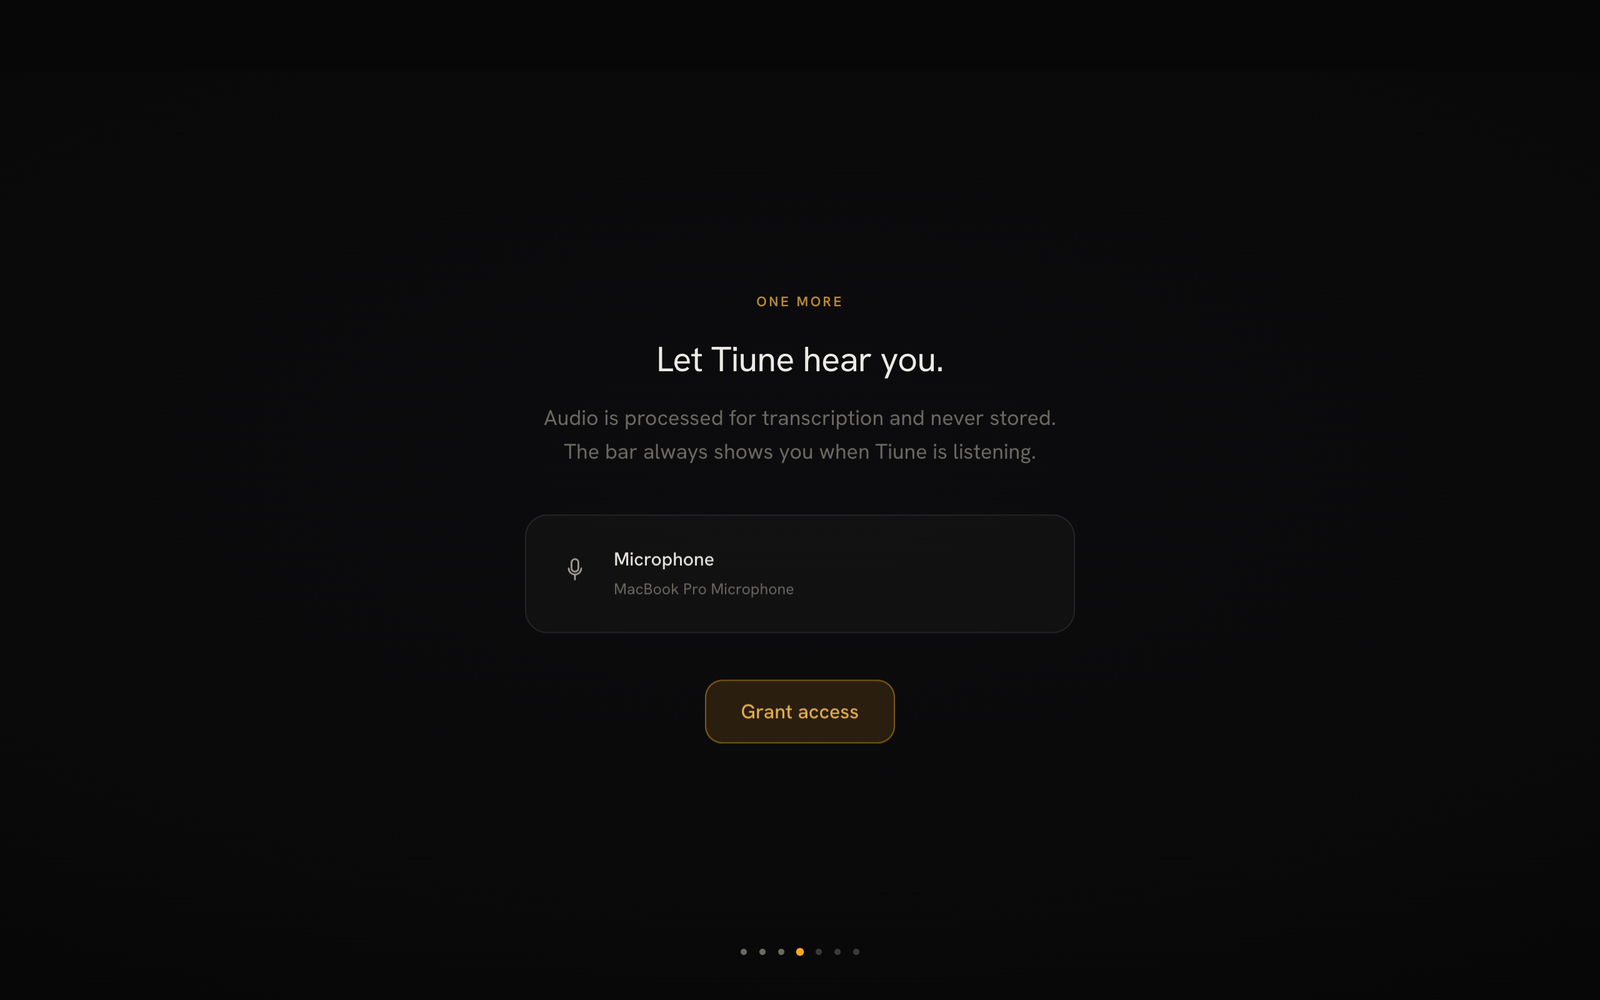 The onboarding Microphone screen. (The matching macOS system prompt it opens isn't
pictured here yet.)
The onboarding Microphone screen. (The matching macOS system prompt it opens isn't
pictured here yet.)
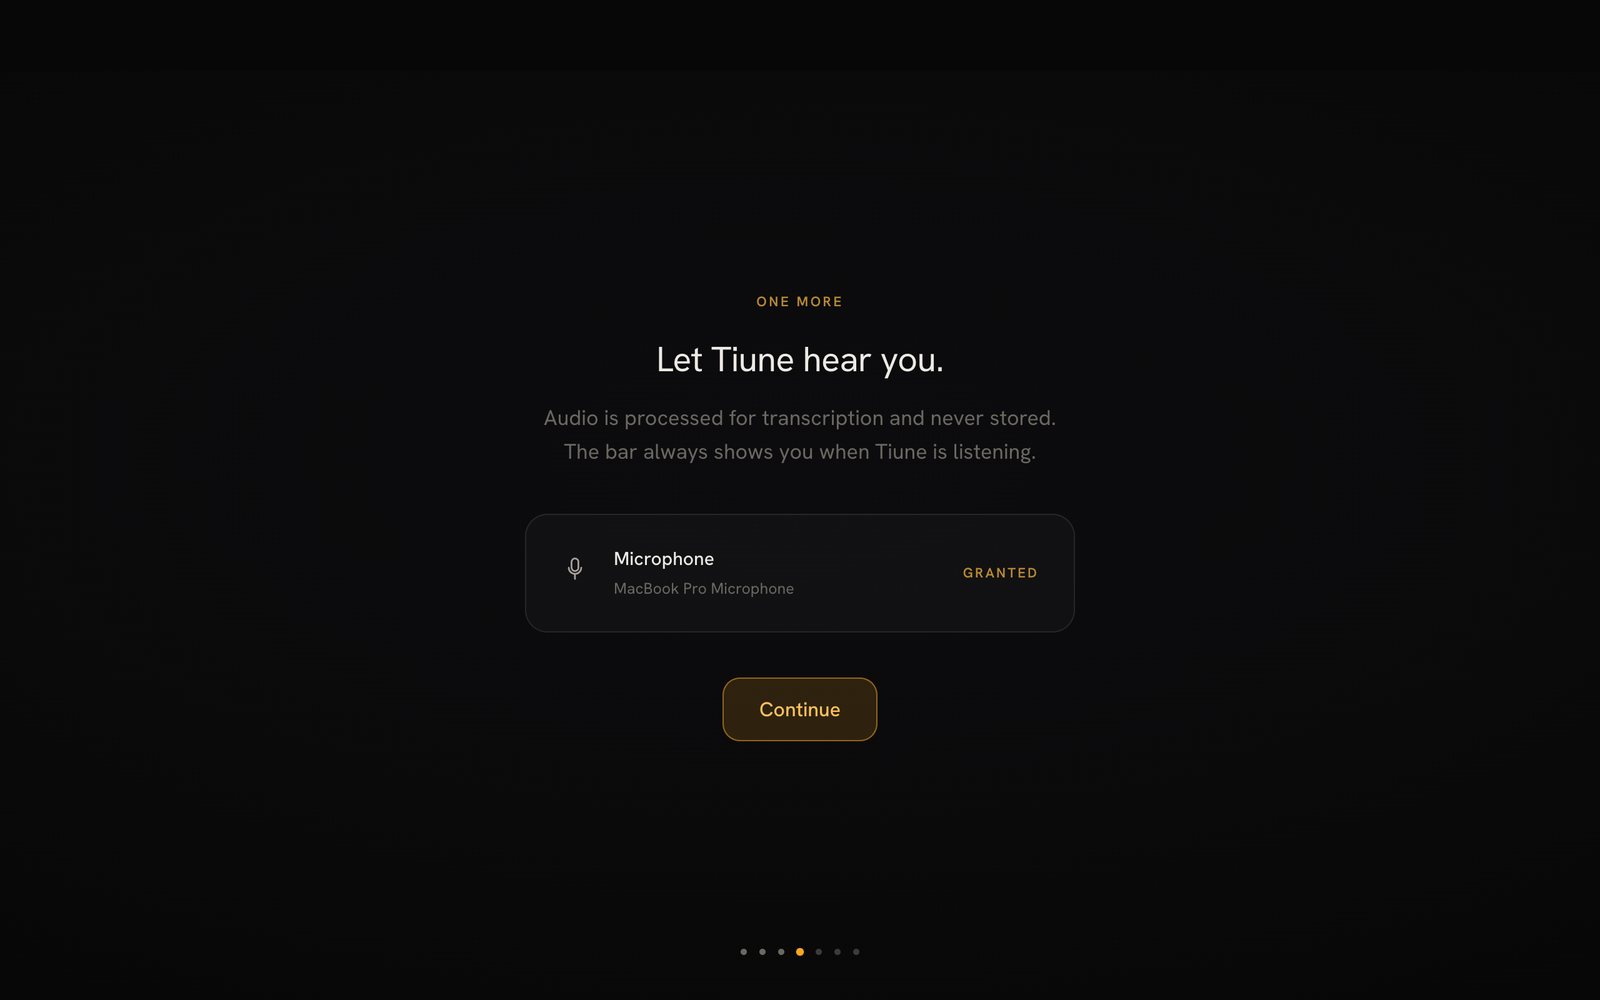 Once granted, the screen updates to show it.
If you deny it, Tiune will show a button to open System Settings so you can flip it back on whenever you're ready — one switch and your microphone is back.
System Audio Recording — only for meeting notes
If you use meeting notes (Pro, macOS 14.4 or later), macOS asks for one more permission the first time you accept an offer to take notes: System Audio Recording. It lets Tiune hear the sound your Mac is playing, which is the other side of the call. It covers audio only. If you never take meeting notes, you never see it.
What Tiune does not ask for
To put your mind at ease: Tiune never asks for Screen Recording, Full Disk Access, or control over other apps through Automation. It doesn't need to see your screen or your files. The two permissions above cover dictation, and System Audio Recording is only for meeting notes.
On Android, Tiune is a keyboard, so instead of Accessibility you turn the Tiune keyboard on in Android's settings. See Android.
Where to manage these later
Both permissions, along with their current status, are always visible in Settings → General inside Tiune — you don't have to dig through macOS settings to check.
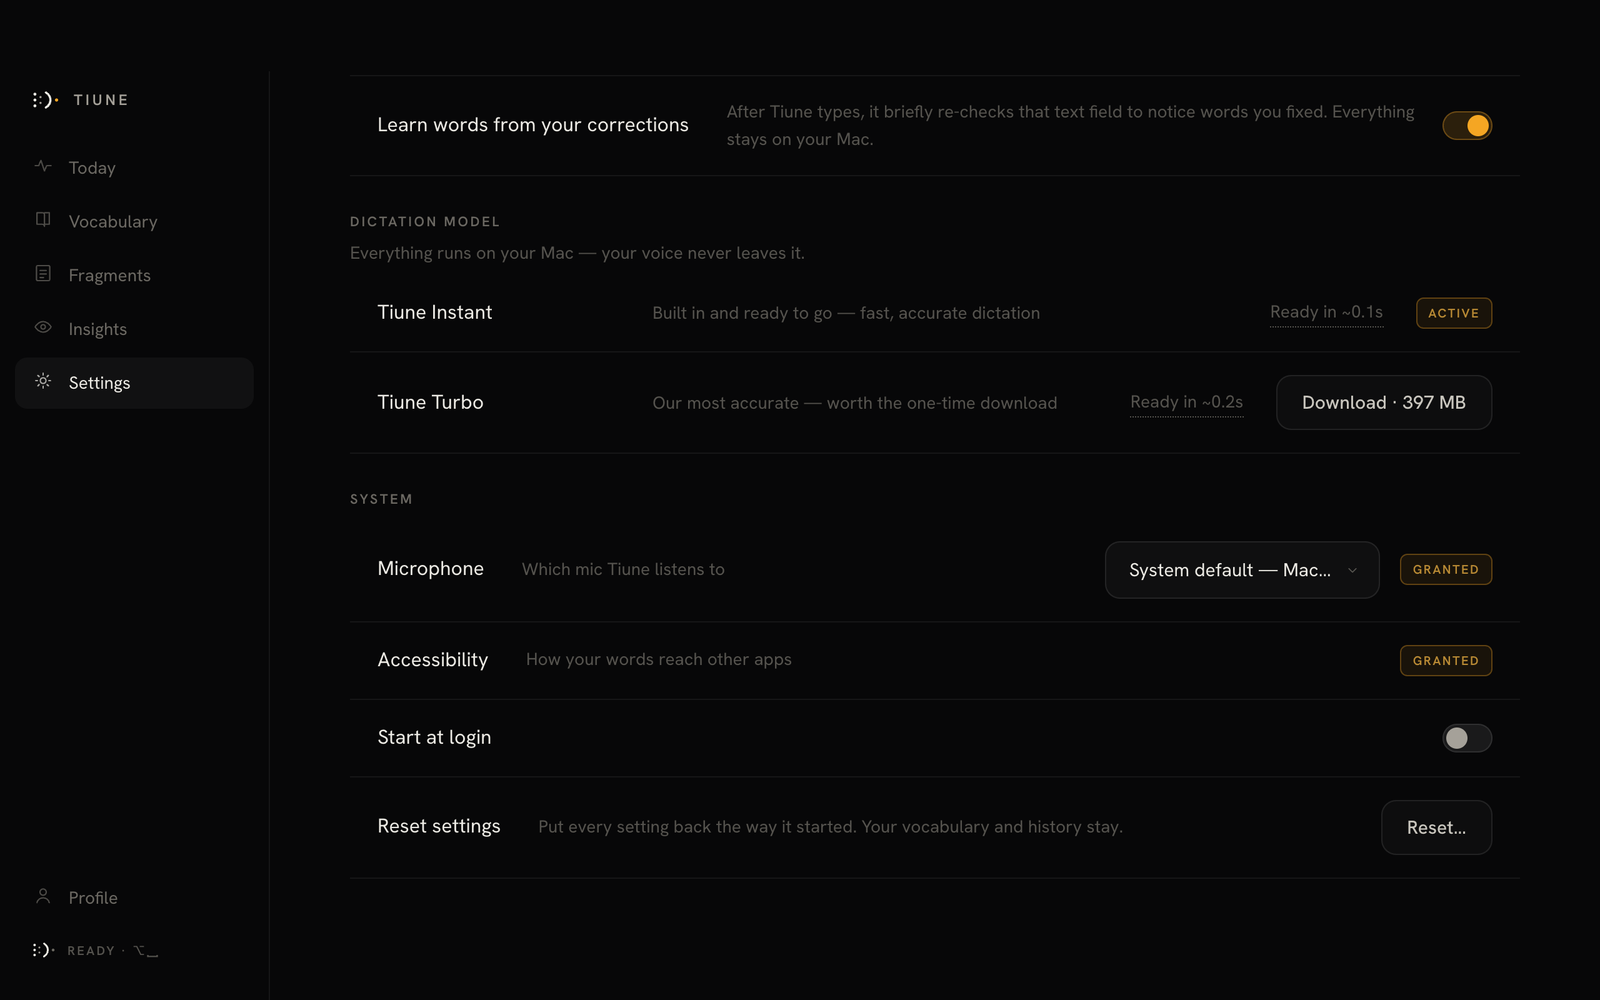 Both permission rows showing GRANTED in Settings → General.